For the past 20 years Photoshop has been my "go to" software for photo editing. Many of my peers have used other editing and pro...

7
Jul
2013

PHOTO TIPS - Lightroom or Photoshop

/
1 Comments

For the past 20 years Photoshop has been my "go to" software for photo editing. Many of my peers have used other editing and processing tools, but I have stood firmly behind my trusted methods.

Today I decided to try Lightroom based on the work of a friend of mine, Michael World. The images below are from the same RAW file.


I really like this Tree Swallow photo, but I felt like it could be better. It's a little bright in the chest and neck which causes a loss of feather detail. Processed it first in Photoshop using my standard processing steps. Then, following Michael's guidelines, I processed the image in Lightroom. For this post, general steps will be mentioned, future posts will contain more specific information.

PHOTOSHOP:
Starting with the RAW convertor, I used the white balance tool to get the color close to natural, then made some minor adjustments manually.

Next I increased the exposure by 0.9 to brighten up the slightly underexposed image and applied sharpening (Amount 50, Radius 1), then opened the photo in photoshop.

In Photoshop I applied additional sharpening (Amout 80, Radius .8). I used Levels to adjust contrast and bring up the highlights and take down the shadows.

Finally, I used NIK Color Efex Pro 4 to add Nuetral Density Filters to darken the background area of the photo and cropped the image for the web.

The result:
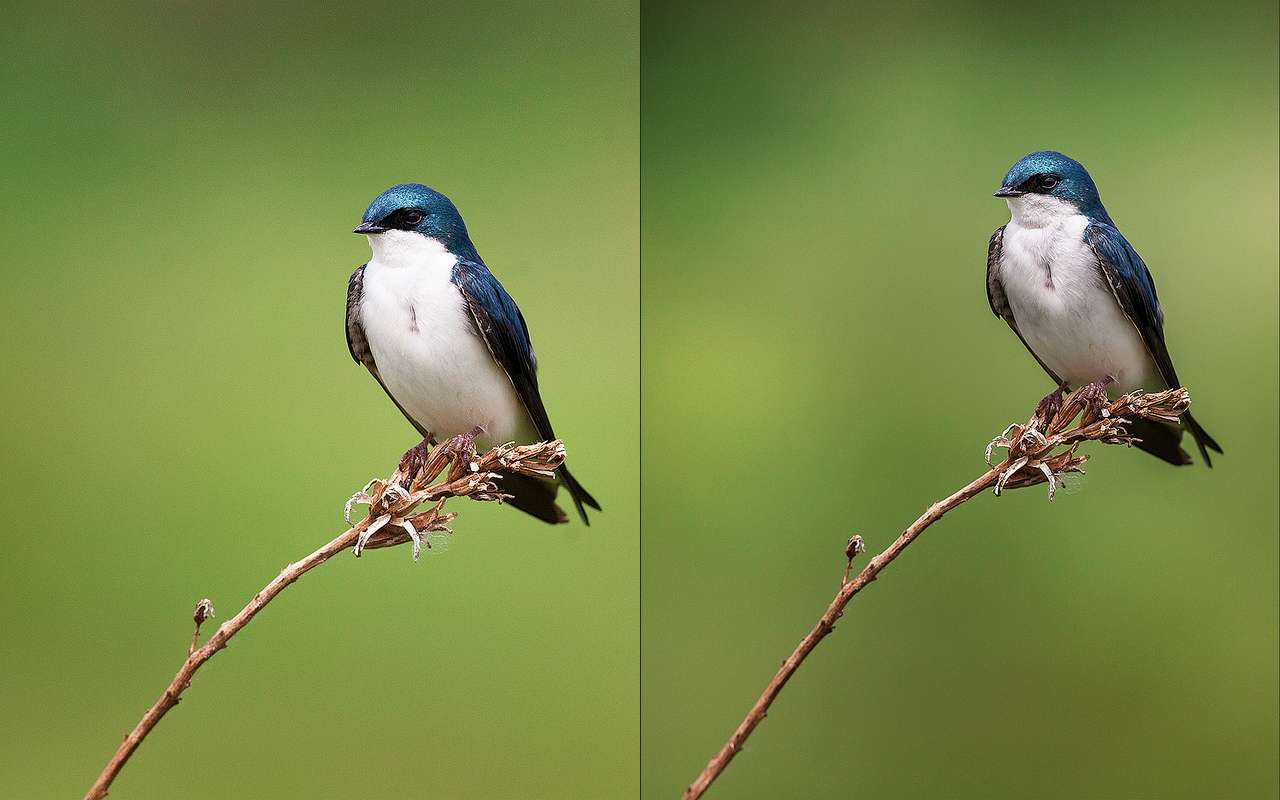
Photoshop Processing

LIGHTROOM:
Imported the RAW file into Lightroom and switched to the Develop tab. Under the Basic menu I adjusted the color to nuetral and Increased exposure by 0.2. I then reduced the highlights by 100 and increased the shadows by 50.

After applying Luminance noise reduction (20), I sharpened the image using Amount: 50, Radius: 1.4, Detail: 50, and Mask: 20.

Finally, I opend the image in Photoshop and used NIK Color Efex Pro 4 to add Nuetral Density Filters to darken the background area of the photo and cropped the image for the web (Slightly different crop).

The result:
Lightroom Processing
Side-by-side comparison:


Overall, I like the second image better. When I asked some of the folks on whatbird.com, they generally agreed, but pointed out a few things. First, the bird seems a bit over-sharpened. Second, there is a thin "halo" around the bird. Going to work on both of these and see what I can do to make the photo better. Any pointers are appreciated!


You may also like

1 comment:

Powered by Blogger.